

April 17, 2026
The ultimate guide to moving exercise bikes
Exercise bikes are deceptively tricky to move. They look like stable, self-contained equipment, but under the surface they combine moving parts, electronics, sensitive resistive systems, and heavy steel frames. Whether you own a compact foldable model, a spinning machine, or a large upright studio bike, mistakes during a move can lead to damage that affects performance, safety, or even warranty coverage. This guide walks you through planning, preparation, protection, transport, and setup so your bike arrives just as functional as the day you bought it.
Planning really matters. Exercise bikes vary in weight from about 60 pounds for basic foldables to more than 200 pounds for commercial studio models. Internal components like magnetic resistance systems, belt drives, chain drives, and digital consoles are sensitive to shock, vibration, and moisture. Fitness equipment manufacturers often require careful handling to maintain calibration and avoid part stress. Knowing what type of bike you have and how its mechanisms work informs every decision from packing to placement.
Before you touch anything, gather the owner’s manual if possible. Manuals contain valuable information about safe disassembly, transport configurations, and recommended handling practices. Warranty documentation often outlines what constitutes improper handling that could void coverage. Read these sections carefully so you know the manufacturer’s expectations as well as you know your own address.
Start by cleaning the bike. Sweat, dust, and airborne particles accumulate in nooks and around moving parts. Fitness equipment maintenance research shows that contaminants accelerate wear on bearings, drive belts, and electronic displays. Use a dry cloth and mild cleaner appropriate for metal, plastic, or vinyl surfaces. Dry everything completely before packing so moisture does not become trapped under protective covers later.
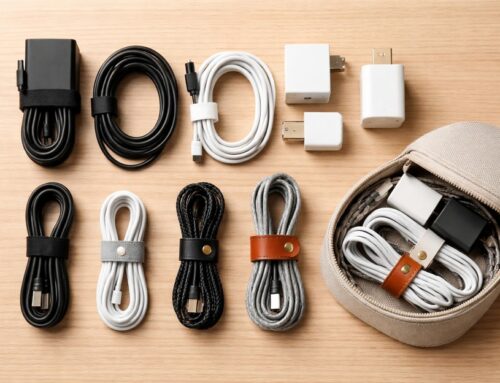
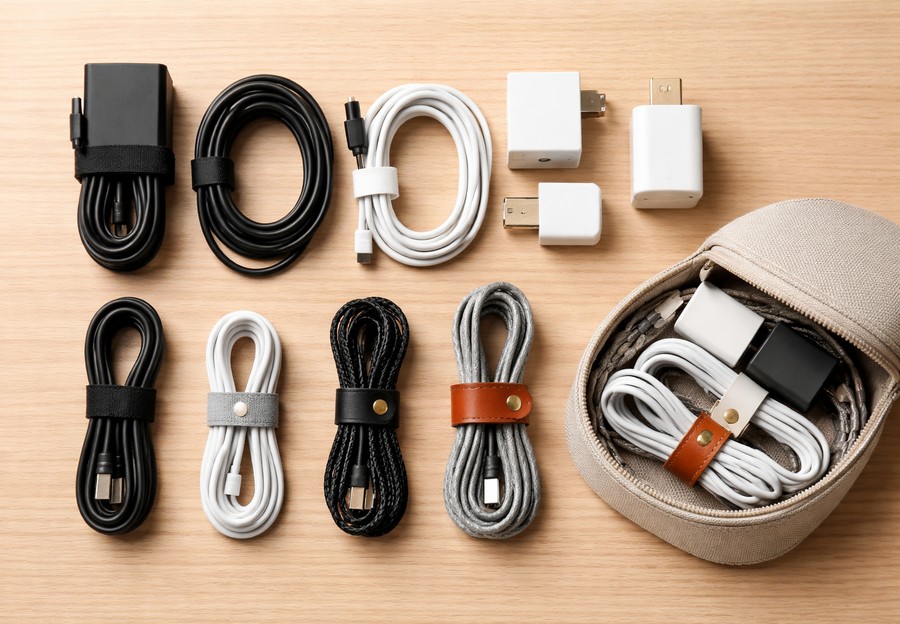
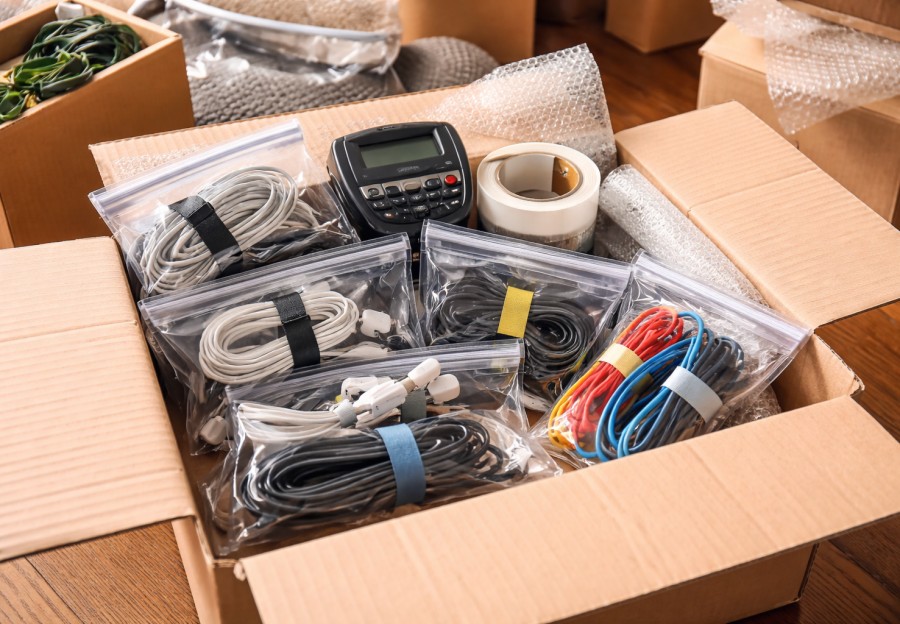
Power down and disconnect electronics. If your bike has a digital console, heart rate sensors, or auxiliary ports, remove batteries and secure cables. Electronic reliability studies show that sudden vibration and shock can fracture solder joints and damage internal connectors. Batteries left in place can leak or corrode when exposed to temperature swings during transport, which creates an avoidable repair expense.
Look at your bike’s configuration. Upright bikes often stand on stabilizing feet. Recumbent and studio bikes may have larger flywheels, seat rails, and pedals that extend far from the frame. These protruding parts are vulnerable during transport and should be protected or removed when practical. Check whether pedals, seats, handlebars, or consoles are designed to detach. Many models include quick release levers or simple bolt connections to make these parts removable. If yours do, remove them and label each part clearly so reassembly is smooth later.
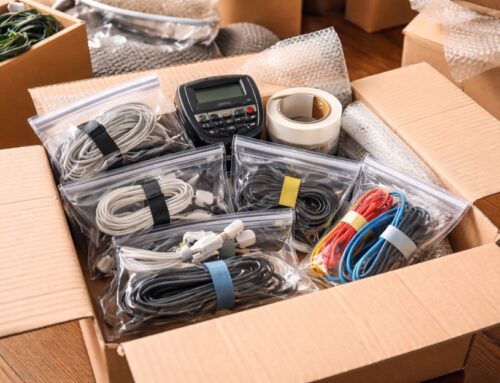
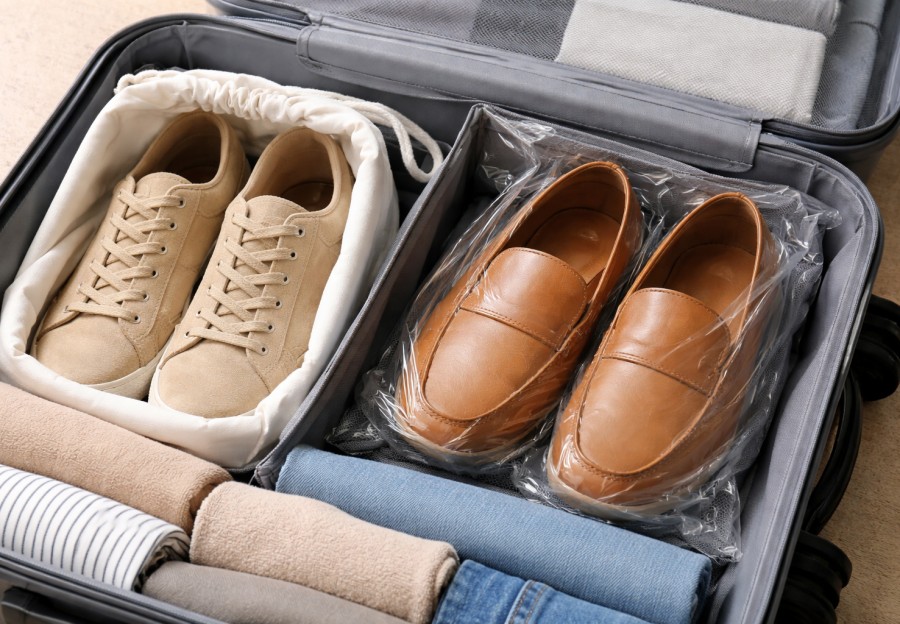
Create a parts bag for small components, bolts, screws, and any detached hardware. Fitness technicians recommend using durable zip top bags with labels describing where each piece came from. Photographing the attachment points before disassembly provides a visual reference that reduces reassembly time and errors.
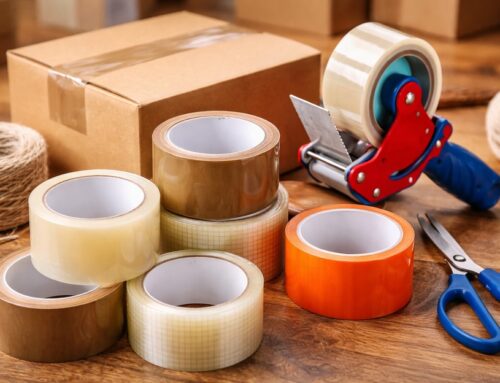
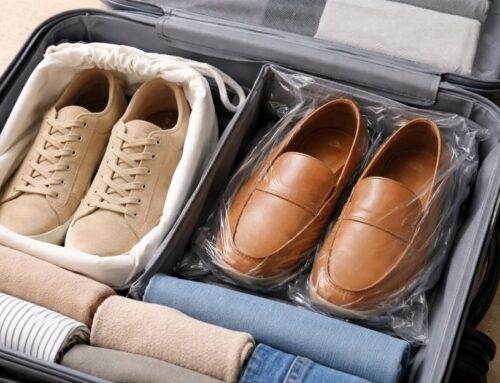
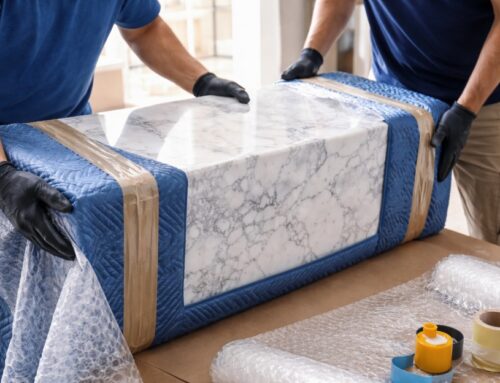
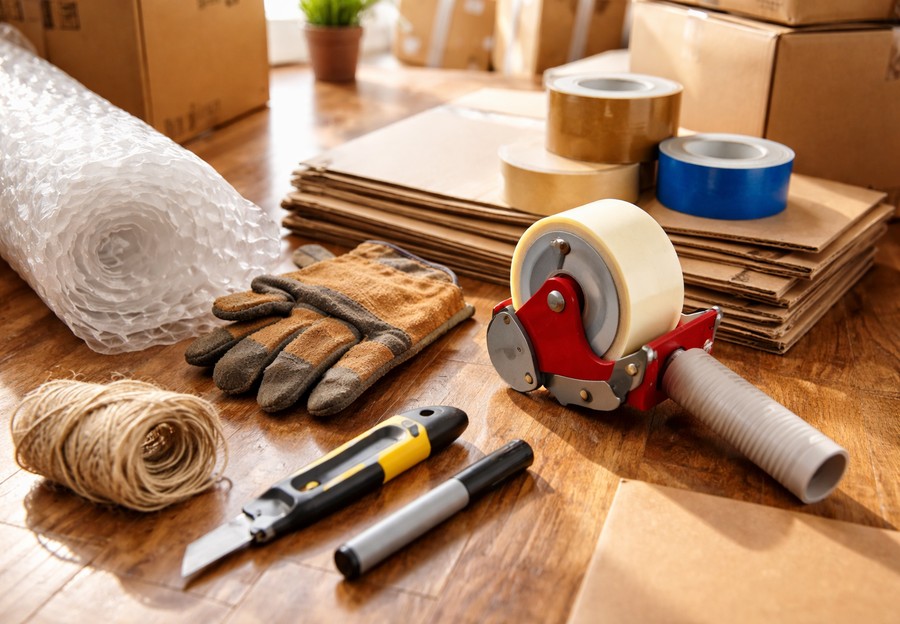
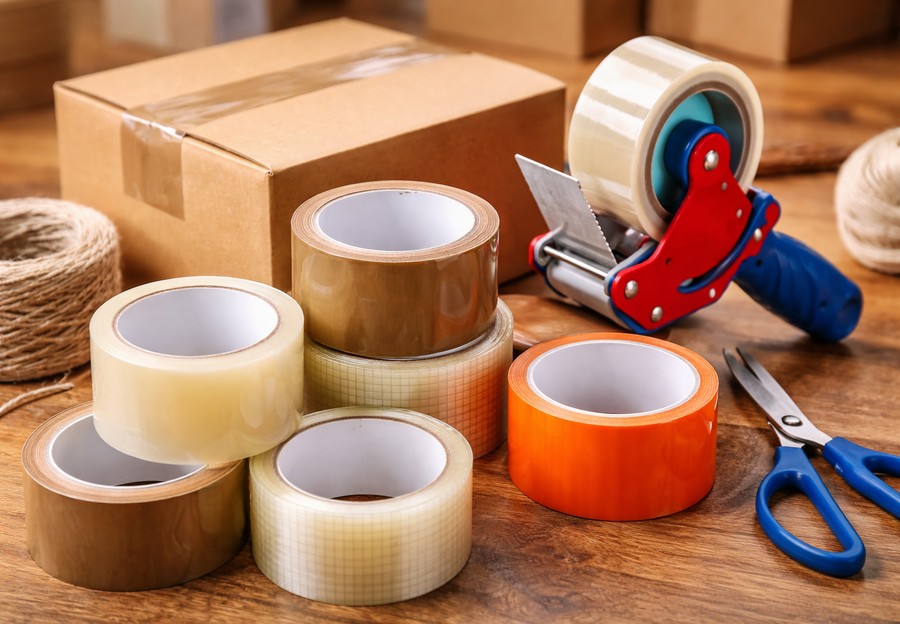
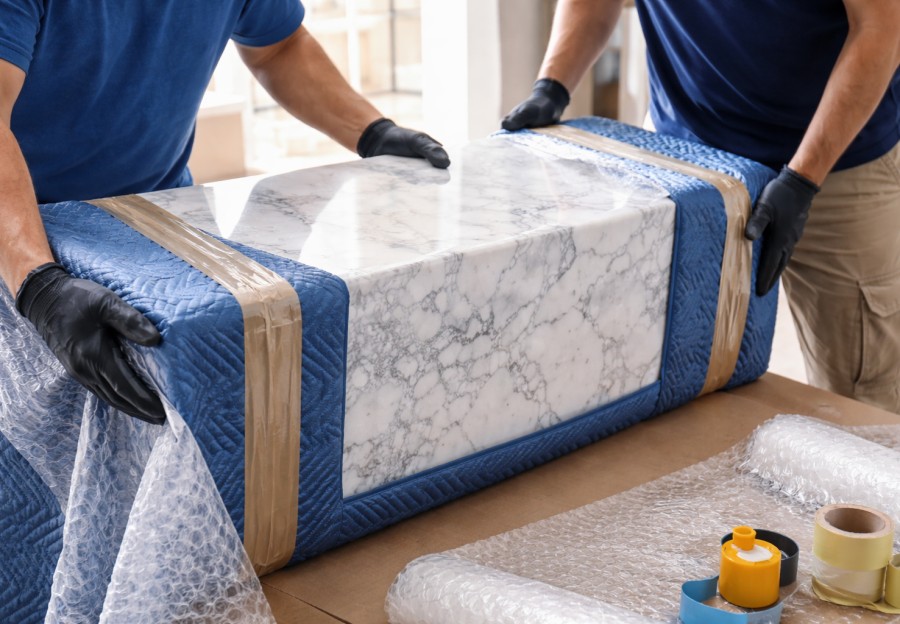
Protect moving components like the flywheel, belt or chain case, and resistance units. These parts house delicate internal mechanisms. Wrap them gently but thoroughly with soft, breathable padding such as a furniture pad or thick cloth. Avoid taping directly to electronic labels or finished surfaces because tape adhesive and heat exposure can damage plastics or paint. The goal is to isolate these components from vibration and shock.
Wrap protruding and sensitive parts separately. Handlebars, seat posts, and console arms often stick out and bear the brunt of impacts. Bubble wrap or padded foam sleeves work well here. Materials science research shows that layered cushioning reduces peak impact force better than a single thick layer, so combine soft padding with a sturdier layer on the outside.
Consider filling in internal voids left when you remove parts. Empty spaces allow items to shift and collide inside protective boxes or against the bike frame during transport. Vibration testing used by equipment shippers shows that internal movement increases damage risk more than external shocks of the same magnitude. Clean rags, towels, or additional padding can occupy these voids and keep components stable.
Handling the display console deserves special attention. Digital displays are shock sensitive and can lose calibration or develop dead pixels if mishandled. Place the console in its own protective wrap and position it inside a small box rather than leaving it attached to the main frame during transport. A lightweight box within arm’s reach gives it dedicated protection.
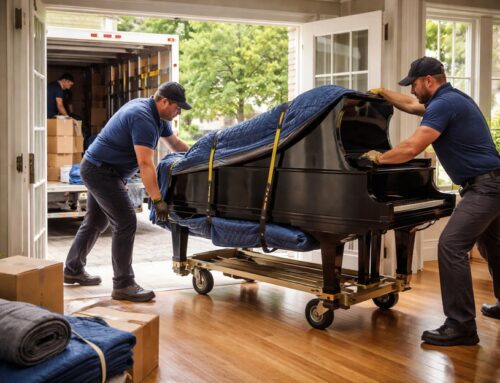
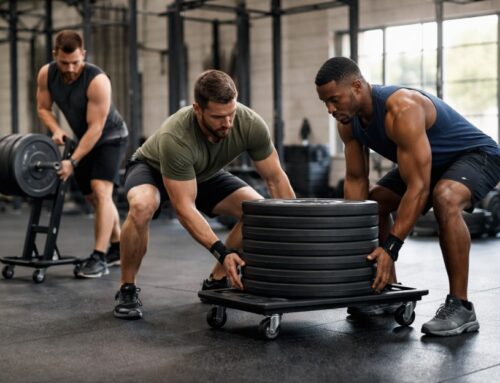
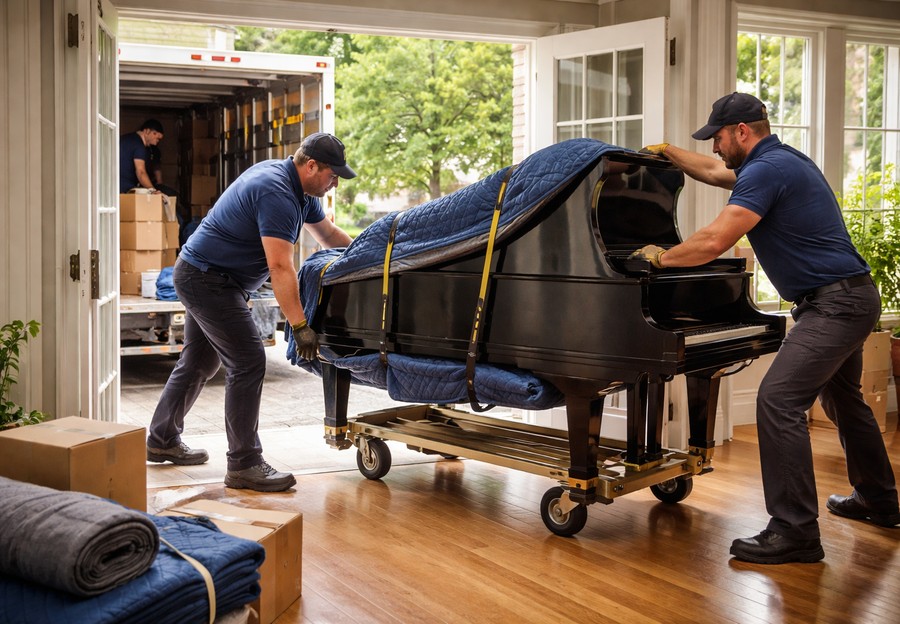
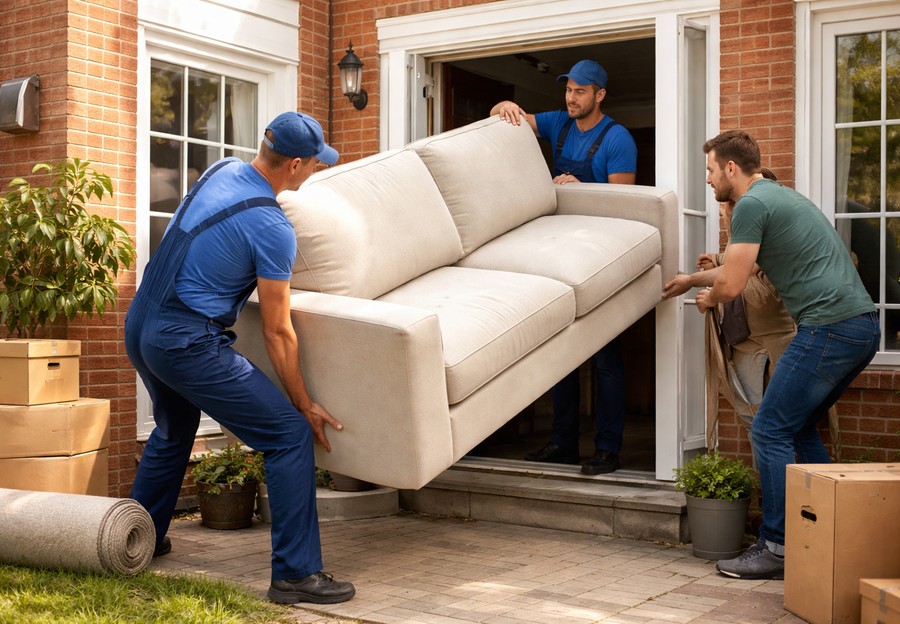
Weight management matters for human safety. Even moderately heavy bikes put strain on backs, shoulders, and joints when lifted repeatedly. Occupational safety guidelines consistently show that using lifting aids and good body mechanics reduces injury risk. When possible, use a furniture dolly rated for the bike’s weight so you roll rather than lift long distances. Get help from at least one other person when navigating stairs or tight corners.
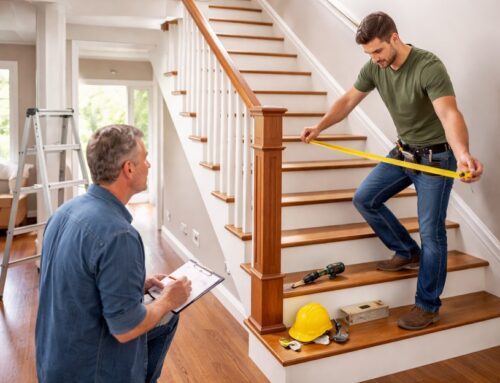
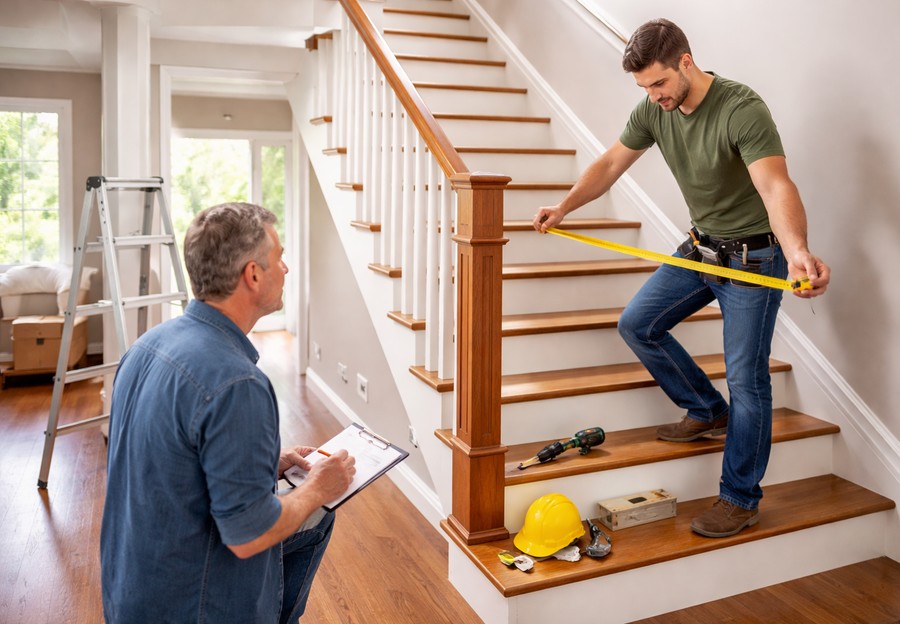
Before moving the bike outside, measure door frames, hallways, and stair widths. Fitness equipment surveys report many incidents where bulky flywheels or wide handlebar arcs blocked interior transitions. If a bike barely fits through a doorway, tilting it at the wrong angle can catch edges and damage both the bike and the doorway. A measuring tape prevents guesswork.
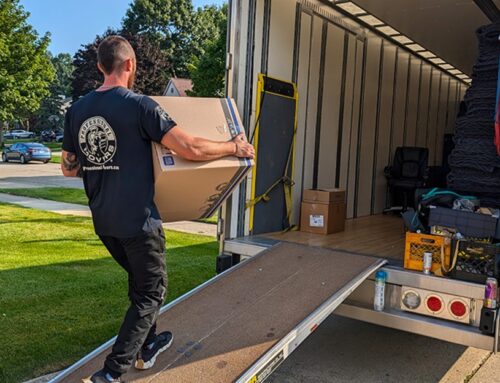
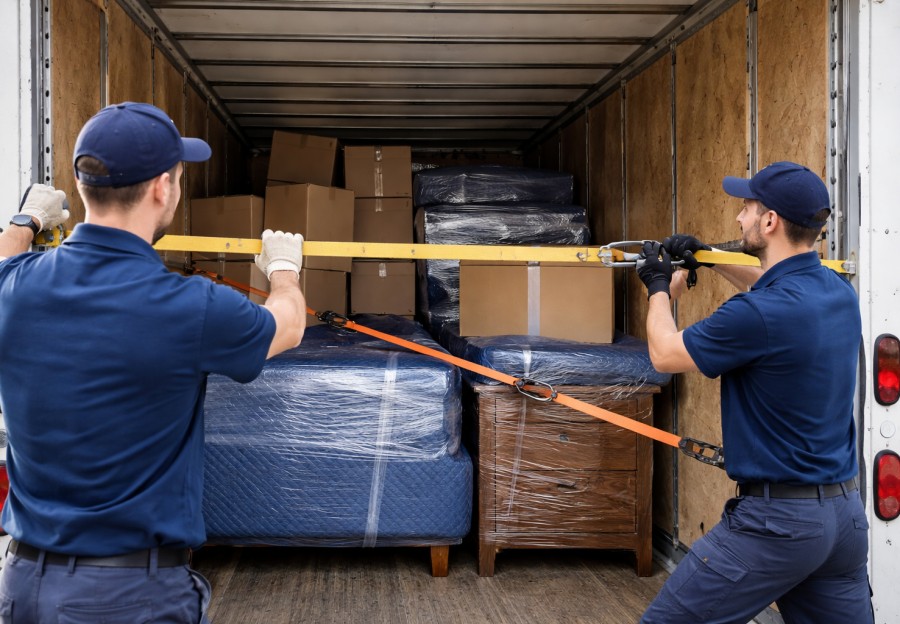
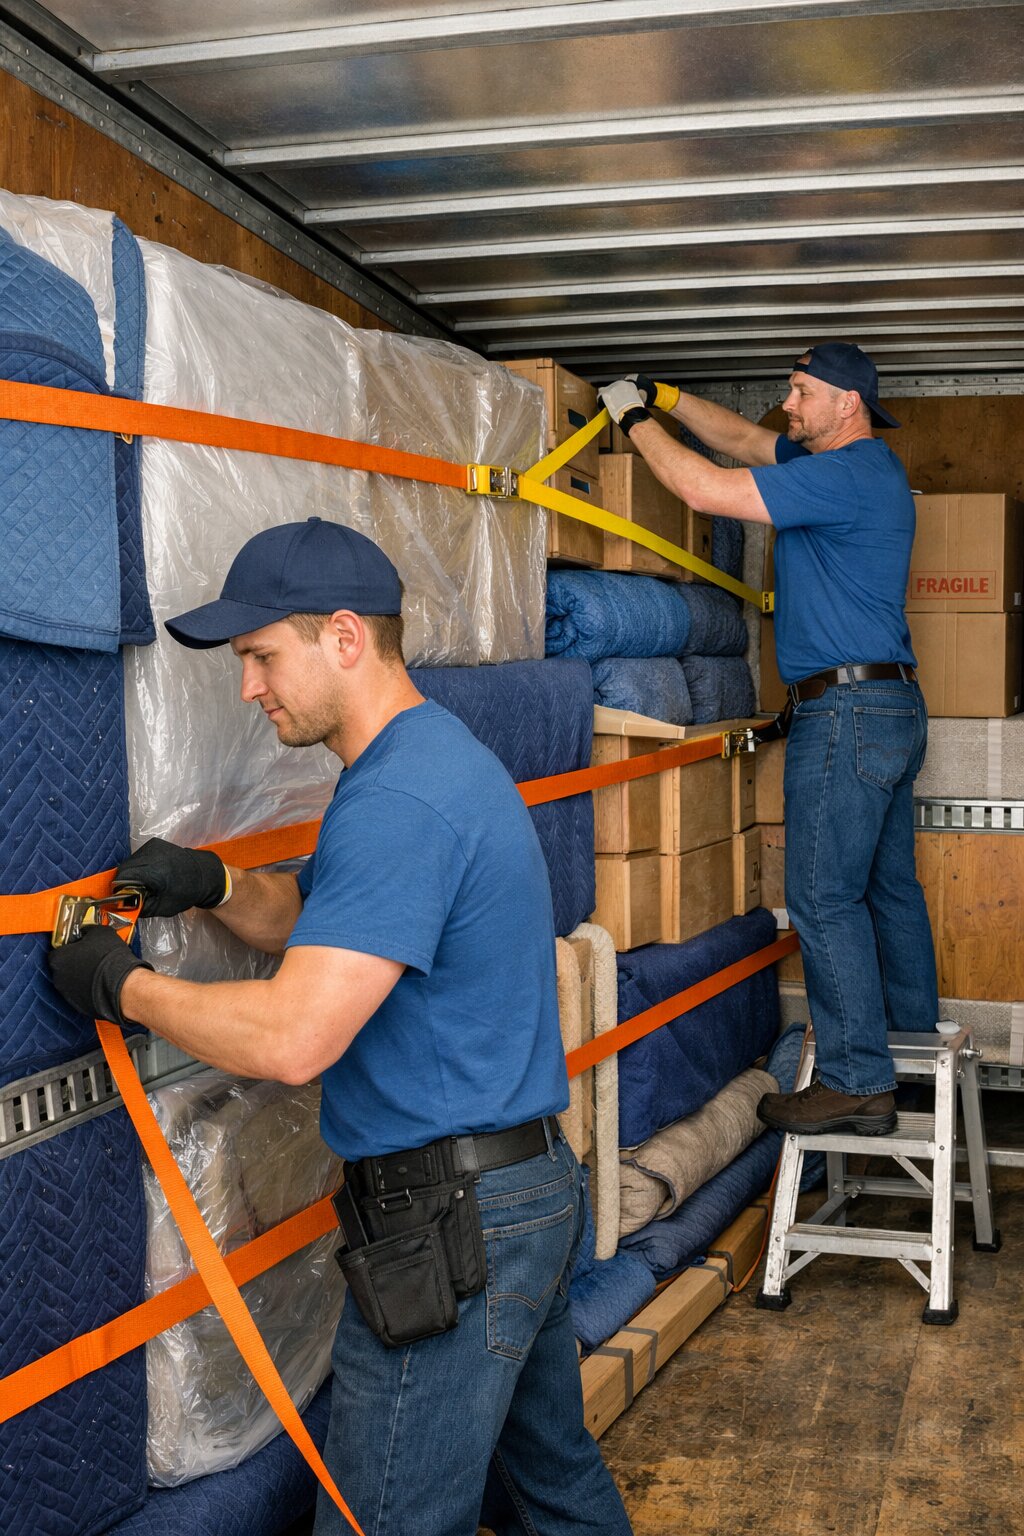
Loading into the truck should follow smart load planning. On a moving truck or trailer, create a stable base layer using heavy furniture and boxes. Place the bike against a padded wall with its longest dimension vertical or slightly tilted away from sensitive components. Transportation safety research shows that vibration and braking forces transfer through vertical loads differently than through horizontal ones. A vertical orientation with padding reduces sustained compression and isolates the frame from shock.
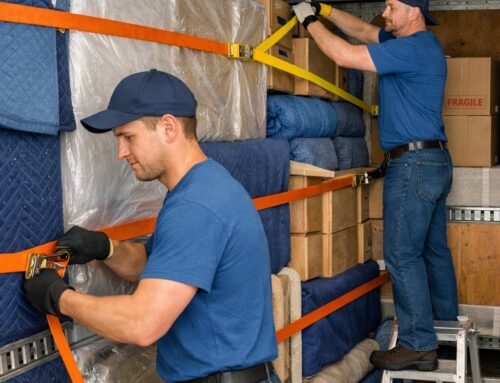
Secure the bike with ratchet straps or tie-downs to built-in anchor points. Proper tie-downs prevent tipping and reduce micro vibration impact. When straps are too tight, they can distort frames or compress padding too aggressively. The goal is snug restraint, not crushing pressure. Leave a layer of padding between straps and the bike frame to protect finishes.
Box placement matters too. Heavy bikes should not ride under heavy furniture because sustained compression from above can warp seats, loosen welds, or shift internal bearings. Placing them on top of lighter items increases the risk of damage from shifting stacks. Instead, wedge the bike between stable boxed furniture and load rails so it cannot lean or tilt under vibration.
Climate considerations deserve thought. Moving trucks are not climate controlled. Vehicle interior temperature studies show that in direct sun trucks can exceed outdoor temperatures by more than 20 degrees Celsius, then cool rapidly later, creating condensation. Electronics and metal parts do not like sudden moisture changes. Cover the bike with breathable material; sealed plastic traps moisture and may promote corrosion on metal surfaces and electrical contacts.
At the new home, let the bike acclimate before unpacking and assembling. Allowing electronics and metal components to reach indoor temperature before powering on reduces thermal stress and condensation-related corrosion.
Set up in a stable, level spot that supports safe use. Uneven flooring increases mechanical stress and can affect calibration of resistance systems. Fitness equipment maintenance research suggests placing anti-vibration mats beneath the bike. Mats also protect floors and dampen noise.
Once assembled, give the bike a visual inspection. Check that pedals spin smoothly, resistance engages correctly, and digital monitoring functions read accurately. Some bikes benefit from a light lubrication of moving parts if they sat in transit for several hours. Refer to the manufacturer’s manual for appropriate lubricants and maintenance intervals.
Performance often shifts slightly after a move due to changes in temperature, humidity, and altitude. Allow yourself a short warm-up ride to confirm everything feels normal. If resistance feels off or electronics behave erratically, revisit your protective setup.
If the bike has a warranty, keep documentation from the move. Photos of early packing, disassembly steps, and the bike’s condition during setup serve as evidence that you handled it responsibly in case you need authorized repair later.
There are two key philosophies behind moving an exercise bike safely: isolate it from harmful forces and preserve its functional integrity. Shock, vibration, moisture, and temperature swings are what most damage machines during a move. Thoughtful padding, secure restraint, proper orientation, and careful handling dramatically cut risk.
For some high-end bikes or competitive training machines, professional movers or fitness equipment carriers offer specialized crating and handling services. Their tools and experience reduce risk further if the bike is especially valuable, built with delicate electronics, or must navigate extreme access constraints.
A move already challenges your physical energy and patience. When you take the time to pack and transport your exercise bike smartly, you protect its performance, extend its lifespan, and make your transition into a new routine smoother. Whether you ride daily, use it for recovery, or have trained for years, the right preparation ensures your bike arrives ready to support your fitness goals without costly repairs or unexpected disappointment.


